
 |  |  |
   |    |    |
This weeks DIY was another fun one to do for kids! This is a really fun crayon in an EOS chapstick container. I thought this looked like a fun project to try and see if I could successfully do!
So all you need for this project is: an EOS container, crayons of your color choice, and an X-Acto knife. First you want to take your EOS container apart and clean it out if it has any excess chapstick in it. The next thing you want to do is take the crayons you want and start cutting off the paper. The easiest way to do this is by slicing the paper in a line with your X-Acto knife and then the paper comes off really easily. Cut the paper off of all of the crayons you want to use. Then start to shave/cut the crayons into little pieces. be patient with this step! Now stick the shavings into the top of the EOS and then screw the grate onto the top and fill up the grate with more shavings. You want to do this so when it melts it has the grates to connect to so it wont fall off. Next, you want to set your oven to the lowest heat setting which for me was 150* fahrenheit and stick the EOS the oven. Bake the EOS crayon for 20 minutes. Then take it out either leave it out for a few hours or stick it into the freezer for 30 minutes. After that take it out and start drawing!
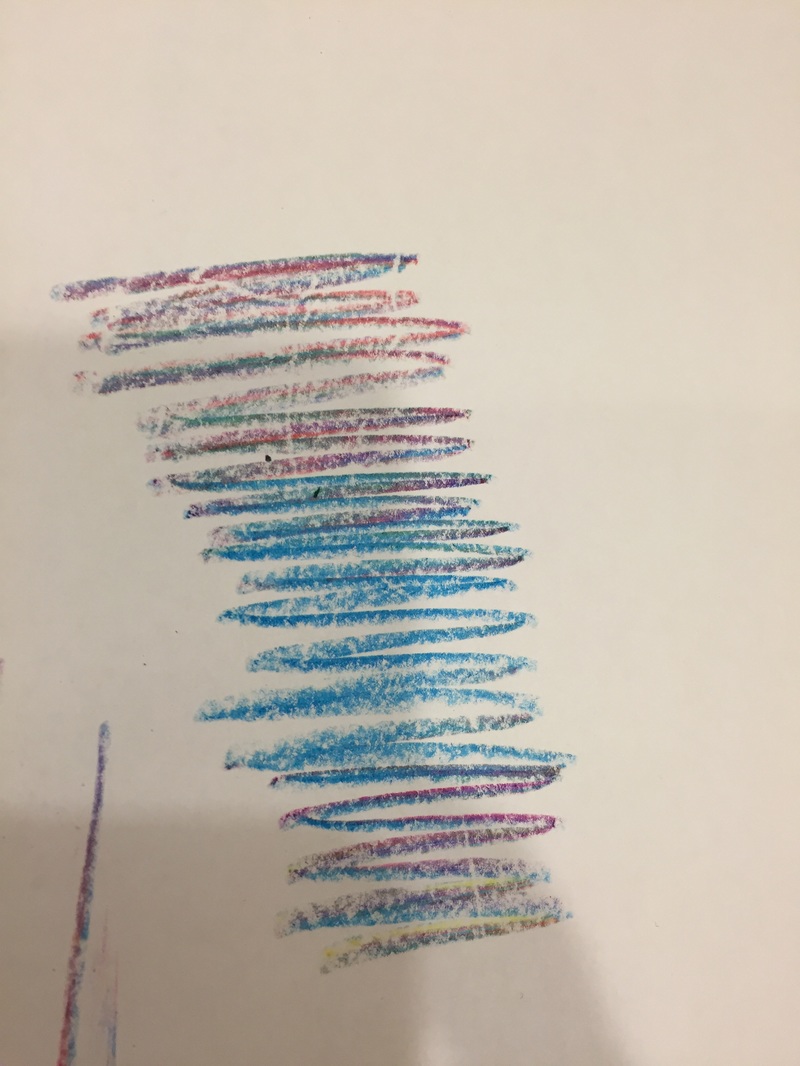
I really enjoyed this project. I think that the whole thing was pretty fun and I had a lot of fun drawing with the crayon at the end. The only downside to this is that shaving the crayons take forever. Also it was very surprising how hard it is to cut a crayon into pieces. That part was very frustrating and time consuming. Other than that thought it was a great project and I think the end product was really cool!
RATINGS:
Messiness: 5/10 This was actually pretty messy. The shavings of the crayons go everywhere. Also when you cut the crayon, the piece you cut flies away a lot of the time. Also the shavings are almost staticky and stick to everything, like your fingers. A plus is that the crayon pieces and shavings are not hard to clean up.
Simplicity: 3/10 The actual steps that you are supposed to follow are super simple. No part of this project was confusing or very hard, it just takes time.
Fun: 6/10 I think the outcome was super cool and a lot of fun! I wouldn't say making the crayon was fun, but the crayon I got out of it was awesome.
Overall: 8/10 This wasn't a hard thing to do and it was fun to play with at the end. I think this is a good thing to make for children to play, write, and draw with. It's a crayon so any age can write with it. I had fun using it!
Would I do it again: Yes definitely. I thought it was a fun project and I enjoy the crayon I got out of it. I will definitely do this again.
So all you need for this project is: an EOS container, crayons of your color choice, and an X-Acto knife. First you want to take your EOS container apart and clean it out if it has any excess chapstick in it. The next thing you want to do is take the crayons you want and start cutting off the paper. The easiest way to do this is by slicing the paper in a line with your X-Acto knife and then the paper comes off really easily. Cut the paper off of all of the crayons you want to use. Then start to shave/cut the crayons into little pieces. be patient with this step! Now stick the shavings into the top of the EOS and then screw the grate onto the top and fill up the grate with more shavings. You want to do this so when it melts it has the grates to connect to so it wont fall off. Next, you want to set your oven to the lowest heat setting which for me was 150* fahrenheit and stick the EOS the oven. Bake the EOS crayon for 20 minutes. Then take it out either leave it out for a few hours or stick it into the freezer for 30 minutes. After that take it out and start drawing!
I really enjoyed this project. I think that the whole thing was pretty fun and I had a lot of fun drawing with the crayon at the end. The only downside to this is that shaving the crayons take forever. Also it was very surprising how hard it is to cut a crayon into pieces. That part was very frustrating and time consuming. Other than that thought it was a great project and I think the end product was really cool!
RATINGS:
Messiness: 5/10 This was actually pretty messy. The shavings of the crayons go everywhere. Also when you cut the crayon, the piece you cut flies away a lot of the time. Also the shavings are almost staticky and stick to everything, like your fingers. A plus is that the crayon pieces and shavings are not hard to clean up.
Simplicity: 3/10 The actual steps that you are supposed to follow are super simple. No part of this project was confusing or very hard, it just takes time.
Fun: 6/10 I think the outcome was super cool and a lot of fun! I wouldn't say making the crayon was fun, but the crayon I got out of it was awesome.
Overall: 8/10 This wasn't a hard thing to do and it was fun to play with at the end. I think this is a good thing to make for children to play, write, and draw with. It's a crayon so any age can write with it. I had fun using it!
Would I do it again: Yes definitely. I thought it was a fun project and I enjoy the crayon I got out of it. I will definitely do this again.


 RSS Feed
